This post is for preparing a Contabo VPS or dedicated server. Before you going to a project installation, the first things you should do first.
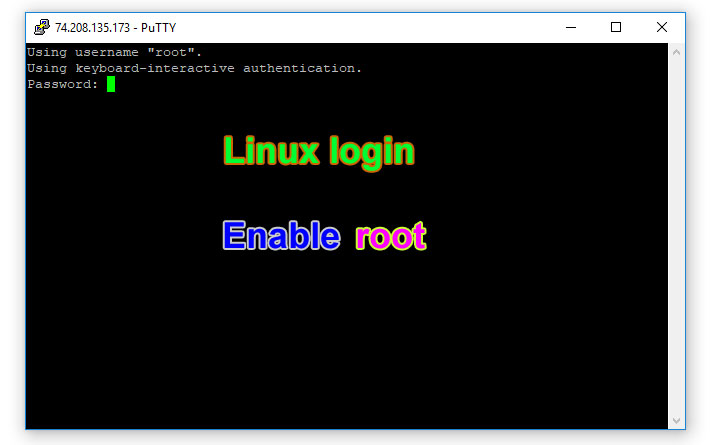
1) Login to SSH (via PuTTy), and update the system first
yum -y update
2) Install nano and wget first
yum -y install nano wget
3) Setup the hostname
nano /etc/hosts
127.0.0.1 localhost.localdomain localhost
192.168.1.58 server.yourdomain.com server


::1 localhost6.localdomain6 localhost6
echo 'server.yourdomain.com' > /etc/hostname
hostname server.yourdomain.com
4) Disable NetworkManager and enable network.service
systemctl stop NetworkManager
systemctl disable NetworkManager
systemctl enable network.service
systemctl start network.service
5) Enable IPv6 version in your server. I’m giving IPv6 here (2001:db8:85a3:8a2e::1) as an example, you must replace your server’s actual IPv6 IP
enable_ipv6
ip addr add 2001:db8:85a3:8a2e::1/64 dev eth0
ip route add default via fe80::1 dev eth0
Make the IPv6 settings permanent
nano /etc/sysconfig/network
Insert the following line at the end of the file
NETWORKING_IPV6=yes
Save and exit the network file
Open sysctl.conf file
nano /etc/sysctl.conf
Insert the following lines at the end of the file
net.ipv6.conf.default.disable_ipv6 = 0
net.ipv6.conf.all.disable_ipv6 = 0
Save and exit the sysctl.conf file
Restart network to apply the changes
/etc/init.d/network restart
6) Additional step (If you have more than one server from Contabo)
You have to add static route in order to communicate from one Contabo server to another Contabo server.
Find the default gateway of your current server which you are preparing now. (Obtain default gateway from https://my.contabo.com/ips)
I’m giving example here with the current server default gateway is 192.168.0.1, and another 2nd Contabo server main IP is 192.168.8.46, and another 3rd Contabo server main IP is 192.168.22.16
You must replace the example IPs stated here by your actual IP
Create a new routing file
nano /etc/sysconfig/network-scripts/route-eth0
Insert the following lines for static route from your another 2nd and 3rd contabo server, if you have more servers then add them line by line
192.168.8.46/32 via 192.168.0.1 dev eth0
192.168.22.16/32 via 192.168.0.1 dev eth0
Save and exit the route-eth0 file
Keep in mind that you should add the static route to your each and every server on Contabo for smooth communication (data transfer) from one Contabo server to another Contabo server. So, login to your another each Contabo servers and add static route by following this tutorial post.
7) Now the preparation is done. Restart your server
reboot


Leave A Comment
You must be logged in to post a comment.