Here is how to enable graphical interface to your Ubuntu 16.04 server (remote server). If you want to setup GUI on CentOS please click here.
Let’s get a Ubuntu dedicated server or VPS from 1 and 1 IONOS or, if you have one already, please proceed to send command via PuTTy.
To get a graphical mode on remote Linux, we need to setup a VNC server application on the remote Linux server, and a VNC client app on our local computer. Download VNC Viewer 32 for your 32 bit Windows computer, or download VNC Viewer 64 for your 64 bit Windows.
In this tutorial, I have bought a Ubuntu VPS from 1and1 for temporary use. I use the IP address “74.208.xxx.xx”, Ubuntu server username “root”, Ubuntu server password “vy5wKc&tLxrHb”, VNC app password “tXj2pNqh“. Keep in mind that the VNC password should be eight characters long. These credential settings surely differ for you, so you should replace them where appropriate. And also, please make sure that your server’s firewall port (22, 5900, 5901) are already open before starting setup.
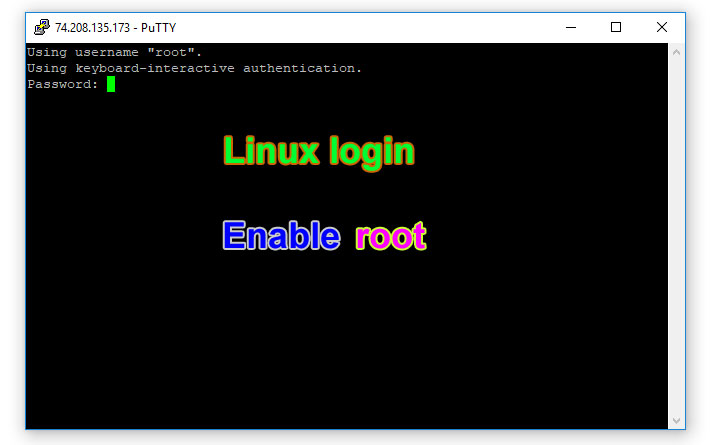
If you’re unable to root login, please click here to learn how do you enable root.
Now, prepare PuTTy session to proceed next. Run PuTTy and provide server’s IP address in the hostname field, give a session name, and click “Save“.

Set “root” as login name for all session. Username will be permanently saved as root for server login on any future session. Load your server’s saved session, and click “Data” under “Connection” category menu.

Write “root” in auto-login username field, and click “Session” from Category menu.

Again, click “Save“, and then click “Open” to go to the terminal window.

A security warning will open for the first time, click “Yes” and you’ll never get this warning in future sessions.

This time, terminal window will open and asking you for password. Write your Ubuntu server’s root password (when typing password you can’t see it) and press Enter.
If you want to copy/paste the password, just copy the password from your computer and on the PuTTy terminal window click your mouse right-button. Know that the mouse right-button click is the paste command in PuTTy window.

Now, the terminal is ready to take and apply command to server. Just write command and press Enter.

In this tutorial, I have given the all commands to setup Linux GUI. Each command are outlined with a border as code format. You can copy each command from here and paste it to your terminal.
First install nano text editor and default downloader, if you did not get it already.
sudo apt-get -y update
sudo apt-get -y install nano wget

And then run Upgrade.
sudo apt-get -y upgrade
Restart the server.
reboot
After reboot, open PuTTy again and login to start new session.
Update package list again:
sudo apt-get update
Install GNOME Desktop:
sudo apt-get -y install ubuntu-desktop gnome-panel gnome-settings-daemon metacity nautilus gnome-terminal
Please wait for the installation completion.
Install a VNC server:
sudo apt-get -y install tightvncserver
Now, create password for login to the VNC Viewer:
vncserver
You will require a password to access VNC Server. Provide an eight characters password and press Enter.
Provice the same VNC Password again for confirmation.
Then, you will be offered to enter a view-only password. Just write n and press Enter.
Stop the vnc server to do some configuration.
vncserver -kill :1
Archive the default configuration file:
mv ~/.vnc/xstartup ~/.vnc/xstartup.bak
If you’re unfamiliar with nano please click here to look at nano’s very simple uses.
Create the new configuration file:
nano ~/.vnc/xstartup
Paste the below script to the new configuration file (/.vnc/xstartup):
#!/bin/sh

# Uncomment the following two lines for normal desktop:
# unset SESSION_MANAGER
# exec /etc/X11/xinit/xinitrc

[ -x /etc/vnc/xstartup ] && exec /etc/vnc/xstartup
[ -r $HOME/.Xresources ] && xrdb $HOME/.Xresources
xsetroot -solid grey
vncconfig -iconic &
x-terminal-emulator -geometry 80x24+10+10 -ls -title "$VNCDESKTOP Desktop" &
x-window-manager &

gnome-panel &
gnome-settings-daemon &
metacity &
nautilus &
Save and exit the file, and apply necessary permission to the file.
sudo chmod +x ~/.vnc/xstartup
Run vncserver again:
vncserver
Create Desktop user configuration file:
sudo nano /etc/systemd/system/vncserver@.service
Paste the below script to “vncserver@.service” file.
[Unit]
Description=Start TightVNC server at startup
After=syslog.target network.target

[Service]
Type=forking
User=root
PAMName=login
PIDFile=/home/root/.vnc/%H:%i.pid
ExecStartPre=-/usr/bin/vncserver -kill :%i > /dev/null 2>&1
ExecStart=/usr/bin/vncserver -depth 24 -geometry 1280x800 :%i
ExecStop=/usr/bin/vncserver -kill :%i

[Install]
WantedBy=multi-user.target
Save and exit the file.
Reload the services:
sudo systemctl daemon-reload
Run vncserver at system startup:
sudo systemctl enable vncserver@1.service
Restart the server:
reboot
If you want to use VNC in unsecured mode, you can login now to your remote desktop by using VNC Viewer. Open VNC Viewer software/app from your Windows computer. VNC Viewer app download link is given at the beginning of this tutorial. Write VNC address as “IP:Port” (74.208.186.116:5901), and click Connect.

A password prompt will appear, type the VNC Password there and press Enter.

You are good to go on your remote server’s Desktop by insecurely. Enjoy !
Or, you can configure secure connection via PuTTy. Follow the below guide.
Here we need to setup a tunnel on PuTTy for securely access to the remote server. Load the session profile and expand SSH category menu.

Enable X11 forwarding.

Add IP:Port to the tunneling section.

After added the tunnel info, the address will show on the box.

Go back to Session category, and click Save again.

Now, PuTTy tunneling setup is done. Load the session profile and click Open. Login and keep terminal open as long as you want to securely access your server’s remote desktop.
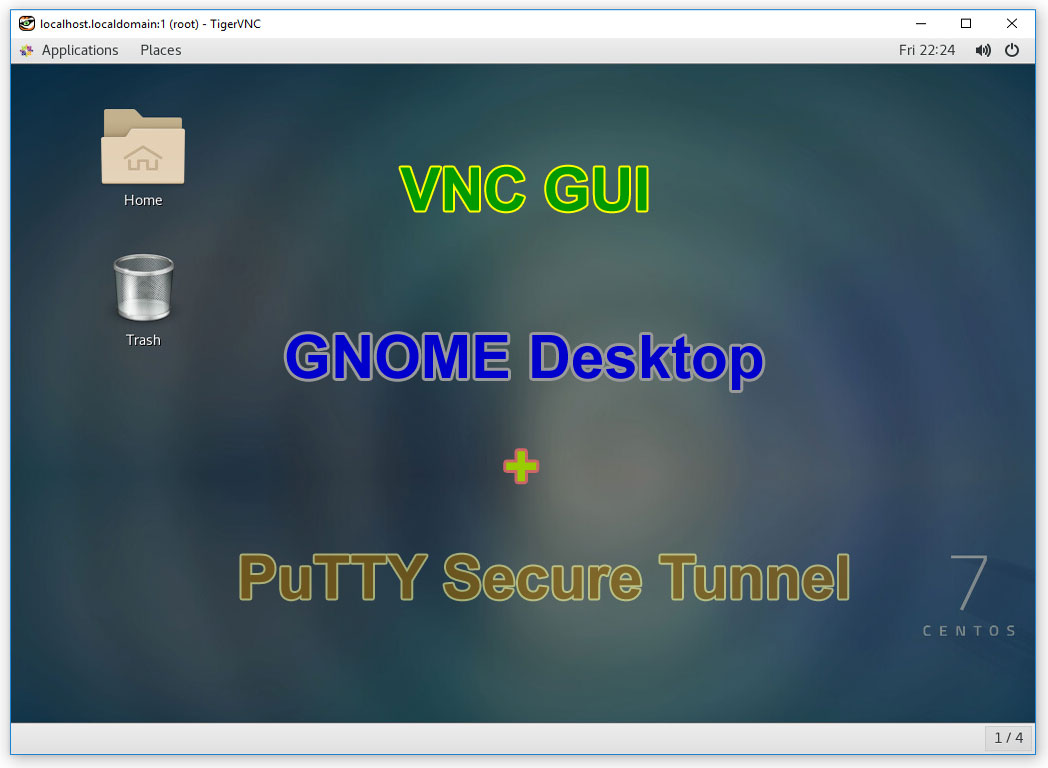
Open VNC Viewer software/app from your Windows computer. VNC Viewer app download link is given at the beginning of this tutorial. Write VNC address as “localhost:1”, and click Connect.

A password authentication will appear, type the VNC Password there and press Enter.
Congratulations ! You got your remote Ubuntu’s Desktop in the VNC-Viewer window.
Enjoy !


How do i share clipboard specially copy and paste between Windows and Ubuntu?